Miarmy Crowd Simulation Documentation (English)
Start to Simulate
Introduction
By now we have understand how to create the Original Agent (OA) and use the OA and place node to place agents (Placement Pipeline). Next, it's time to make the agents to do something.
To make agents act, first we need to do some preparation works, and then there are 3 different simulation ways, they are all the most basic entry point of simulation.
We introduce them here to brief the general concept of the simulation, for more detailed you can continue read the follow parts (Action, Logic and Physics)
Prepare to Simulate
Create Solver
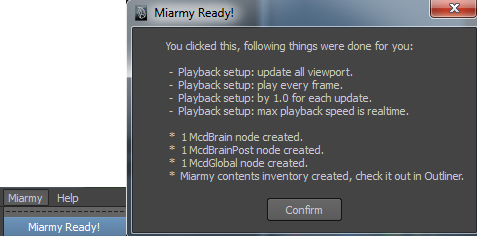
When you click the Miarmy > Miarmy Ready or  , the solver and the initial repository are created.
The solver nodes include McdBrain, McdBrainPost and McdGlobal. Without these nodes, the simulation will not start.
Understanding the solver workflow, please refer Solver
 Solver Nodes
And also, there will be a repository created which name is Miarmy_Contents, this node is root of all Miarmy scene element.
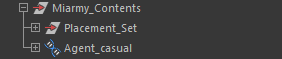 Miarmy Contents repository
Bring in OA
The simulation need at least one OA in scene. Here for testing we use the import mode, please do not contain any prefix name of the agent.
You can create an new agent or click Miarmy > Import without Namespace/Prefix
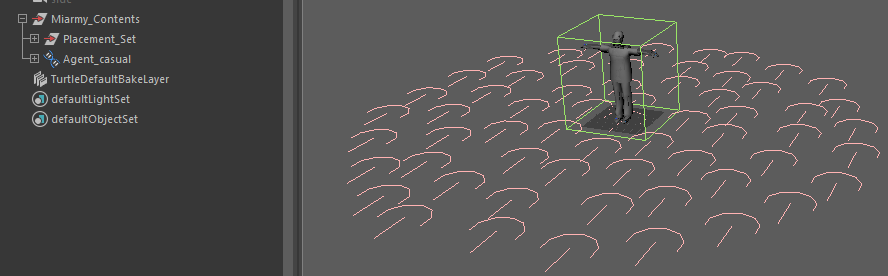
Original Agent in Scene
Reference & Import Mode
The OA can be imported or referenced into the Maya scene. If we're in OAT (Original Agent Test) scene, we'd better choose import mode and we can export the OA later on to an independent assets.
While if we're in simulation scene, we'd better use the reference mode.
3 Ways of Simulation
1 Logic
Active Agent Type
Please first active your agent type using Agent Manager, refer Agent Type Group and Agent Manager
To simulate agents, there must be and as least one decision in agent brain, please create it by click icon  or Miarmy > Logic and Decision > Make Decision
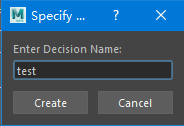 Create Decision
We need at least one default decision, that can be used to trigger something is there is isn't other logic triggered

Default decision
Right click on the output decision sentence, choose Move and Rotate > move Forward as speed ??
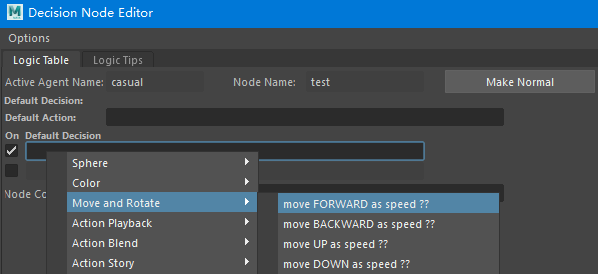
Create a Logic Decision Node

Change the value to 10
Back to first frame  and click play button
  , you can see your agents will move forward with the default pose:
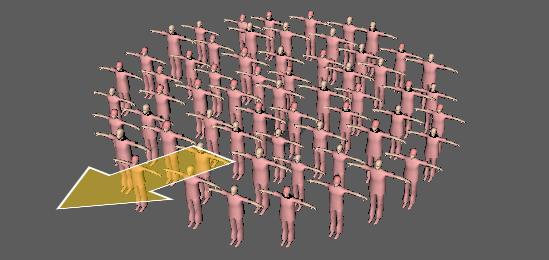
move forward without behavior, rest pose
2 Action
To trigger some animation in agents, there must be at lease one logic and one action node.
The action can be created from your animated character rig Create Action Node

Action node attached to the OA
And fill a default action as the entry point
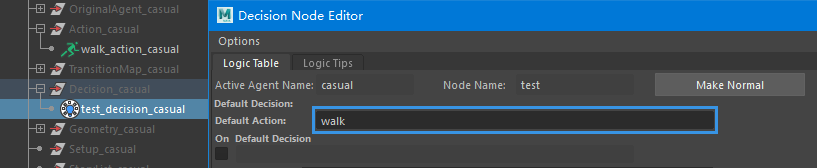 Default action: walk
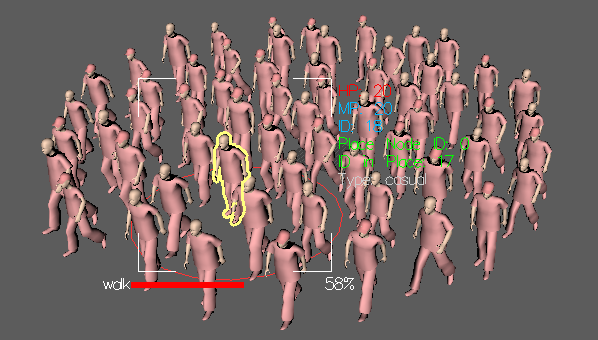
Agents are driven by action:walk
3 Physics
To turn on dynamic simulation for agents, we need to give a logic command in decision node of agents and make them enable dynamic.
Also we have to make sure the OA have been setup correctly to simulate OA Physics Joints and 5 Steps to Build Perfect Physical Character
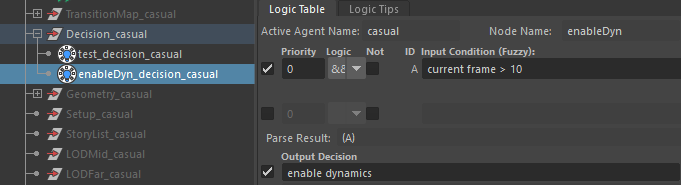
Build another normal decision (non-default decision in previous step)
Use the logic: Input > Scene Info > current frame > ?? and Output: Dynamics > Enable Dynamics
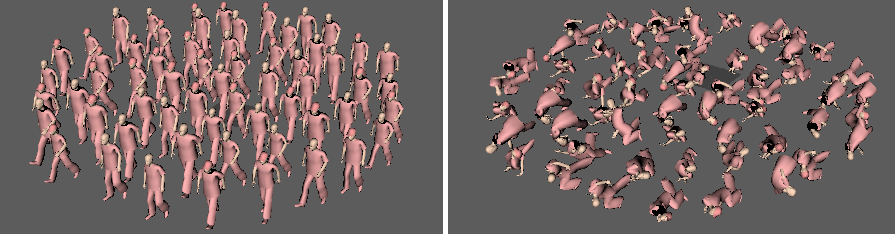
Enable Dynamics
Basefount Technology