Miarmy Crowd Simulation Documentation (English)
Automatic IK
Introduction
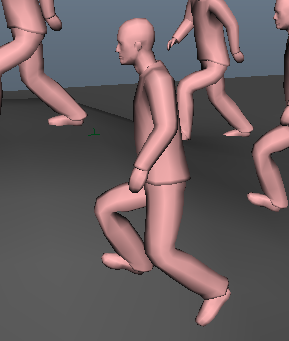
Automatic IK system is able to make the feet of agents automatically adapt the terrain both in angle and height.
It can achieve:
- Keep the correct angle between feet and terrain automatically
- Keep the feet from penetrating inside the terrain automatically
Instructions
- Specify and select the end effector (foot) of IK
Like the native IK system in Maya, we need setup the end effector of IK, please firstly select it.
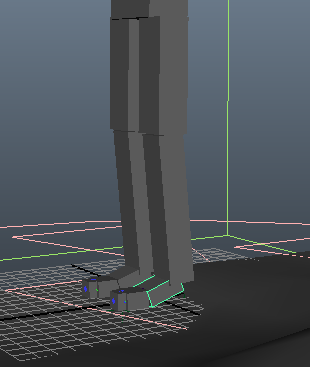
setup end effector on foot.
- Specify the Level of IK
When you select the foot, you can find there is an "autoIKLv" attribute in the channel box.
When its value is 0 (default), stand for totally turn off automatic IK.
And when the value is more than 0, stand for we created an automatic IK indicator
The value of this attribute stands for how many upper joints will join the automatic IK calculation.
Please notice the level of IK usually more than 1 ( => 2 ) - Notice: if there are mulitiple segments on lower and upper leg, you need count all of them into IK bone chain calculation.
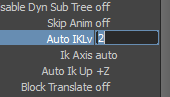
Turn on auto IK and Setup Upper 2 bones joint IK calculation
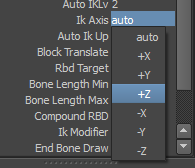
- (Optional) Specify the IK axis
The IK axis is means the preferred angle of IK.
Usually this will be automatically calculated out. But only when the bone chain is straight forward, we need to setup it manually.
There is +-X +-Y and +-Z 6 options.
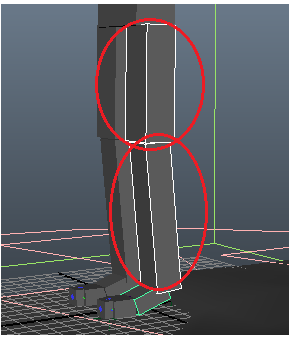
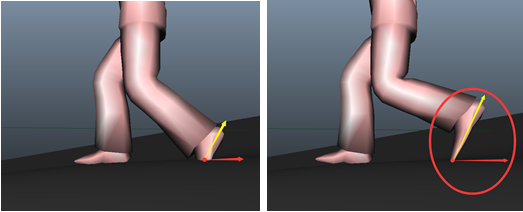
(1) Axis means the IK rotation plane, like the below 2 images shown, when we rotate the bone to desired direction, the Z axis is changing, so we need choose Z
(2) Choose + or - sign are determined by IK distance relationship, please notice the below image the red line is IK distance.- From default Angle, rotate bone to desire direction (backward in lower leg) When the axis value increase, the distance shrink, it should use positive (+)
- From default Angle, rotate bone to desire direction (backward in lower leg) When the axis value increase, the distance increase, it should use positive (-)
- Notice: this value should be set on the rotation bone instead of end effector.
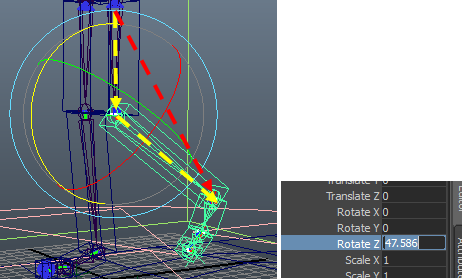
the rotation plane is Z aixs.
- (Optional) Specify the IK
This is very like to the "pole vector" of Maya.
Usually for humanoid agent, we just leave this default.
But for some strange creature, we need change it to +Y
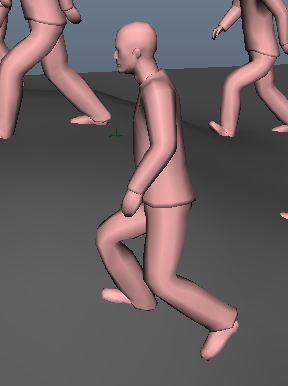
for example below type of creature, the leg and knee not point to positive z direction.
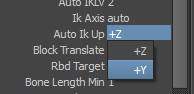
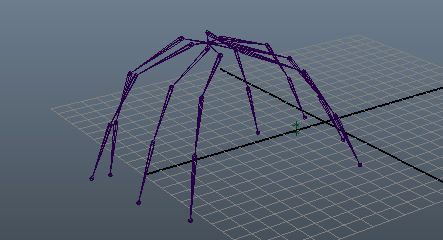
change to +Y for the leg not point to z direction.
Additional Foot Locators
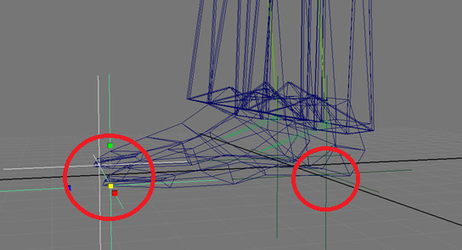
Sometimes in your character rig, the end effector bones are not the bottom of the geometry feet.
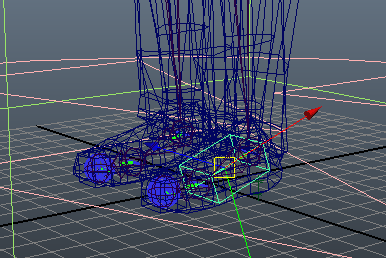
- Like the below left image, the bone of foot not the bottom of real geometry. And this will cause some penetration of foot in Automatic IK.
- In the right picture below, due to the automatic IK treats the end effector bone as the bottom, however, the end effector bone is not the real geometry bottom.
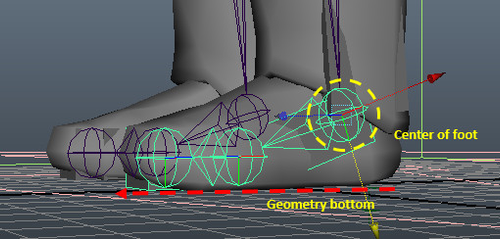
The foot bone not the bottom of foot geometry. The red line is the real geometry bottom
Then please notice the penetration on right foot
If the feet bones like above picture, you need to add the extra foot locators to fix it.
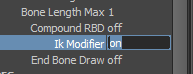
- Upgrade the Original Agent
Click Miarmy > Original Agent > Upgrade
It will add an attribute ikModifier. but please ignore this value, it will be connected by the locator we are going to create.
- Select the end effector bone shape box, and then click Miarmy > Actions > Create IK Offset Locator
An extra locator will be created under the bone node hierarchy. Adjust the locator and match it on the bottom of foot.
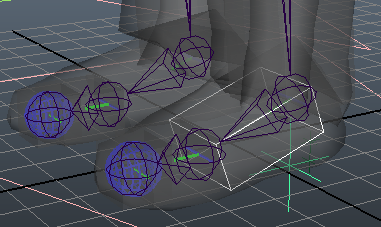
Manually adjust the locator and match it on the buttom of foot
The right foot penetration has been modified and corrected.
- You can duplicate the locators and move them to the tiptoe, now, there are 2 locators in the each of the foot, like below picture:
- When the agents walk or run, the automatic IK can automatically make both locators avoid penetration.
Left: heel not penetrate but tiptoe penetrate
Right: heel and tiptoe both non-penetrate
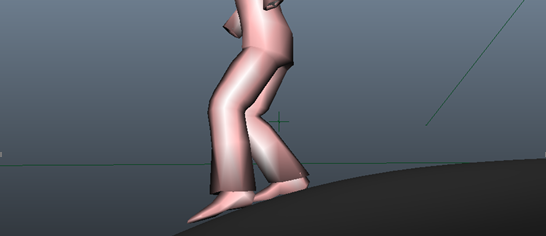
perfect anit-penetration after setting up the foot tiptoe and heel locators
Basefount Technology