We can place our agents from terrain texture color. With this tool we can both place from existed texture or Maya painter tool.
Workflow
- Create a place node and adjust the number of agents which you want to place
- Attach this place node to polygon mesh (as terrain)
- Swift the "place type" to "custom" mode
- Paint the texture on polygon mesh or just assign a painted texture (grayscale)
- Update the place node.
Example
In this example, we're going to introduce how to use paint tool to create placement on a helix object.
Step 1
Create a place node and
- define its agent number (ignore anything else) like below picture shown.
- switch the Place Type to "custom" mode

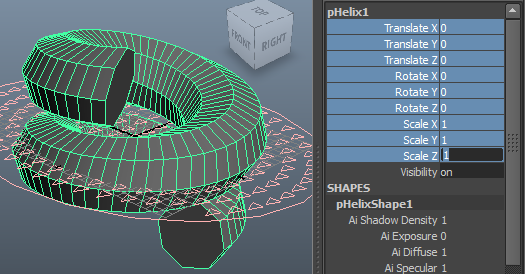
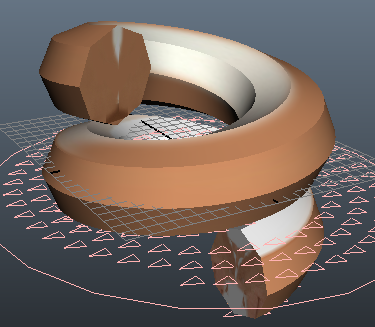
Step 2
Create a helix primitive object and then clear its transform, like below image:
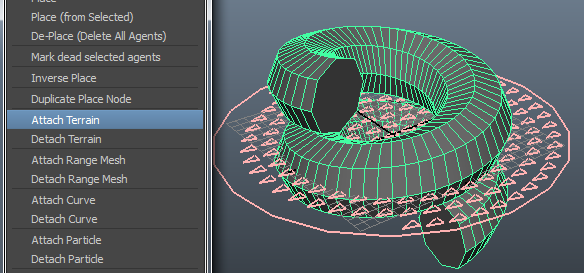
Step 3
Attach this place node to this helix:
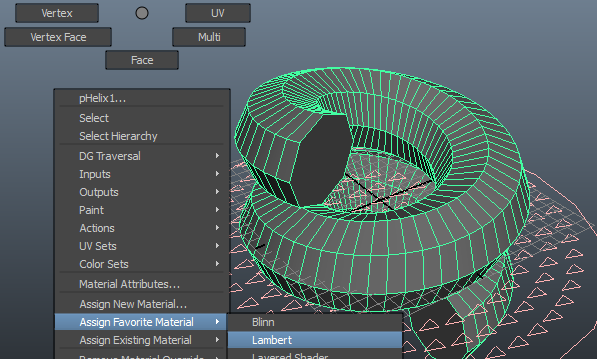
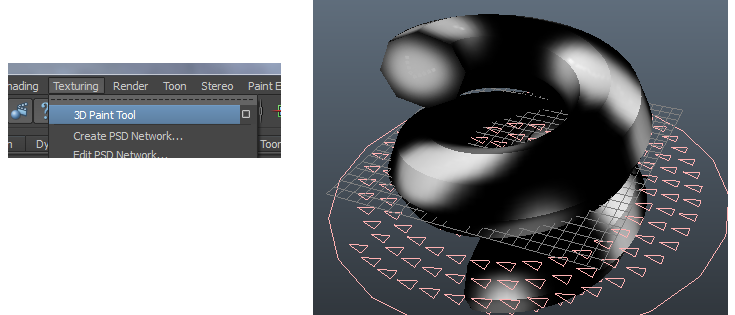
Step 4
We must create a new material (cannot draw paint on the default material). Here we assign it a favorite material to it.
And then we need assign a texture on to it,
Step 5
Flood it to black and draw white or grayscale color on to it (like below picture)
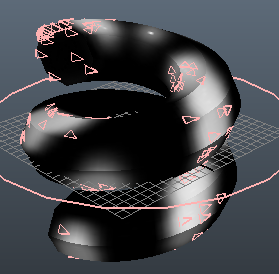
Step 6
Select the helix and hit update 2d/3d, the place node will go to it.
Miarmy > Placement > Update Texture Place 2D or Miarmy > Placement > Update Texture Place 3D
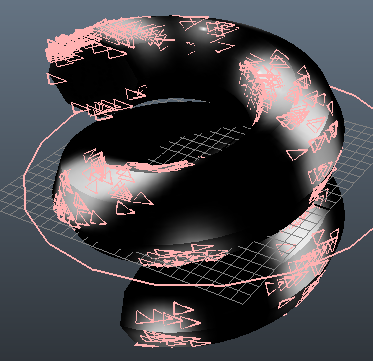
Step 7
Repeat the step 5 and 6 fine-tune to getting the best result.
You can also adjust the number of agent for getting better look.